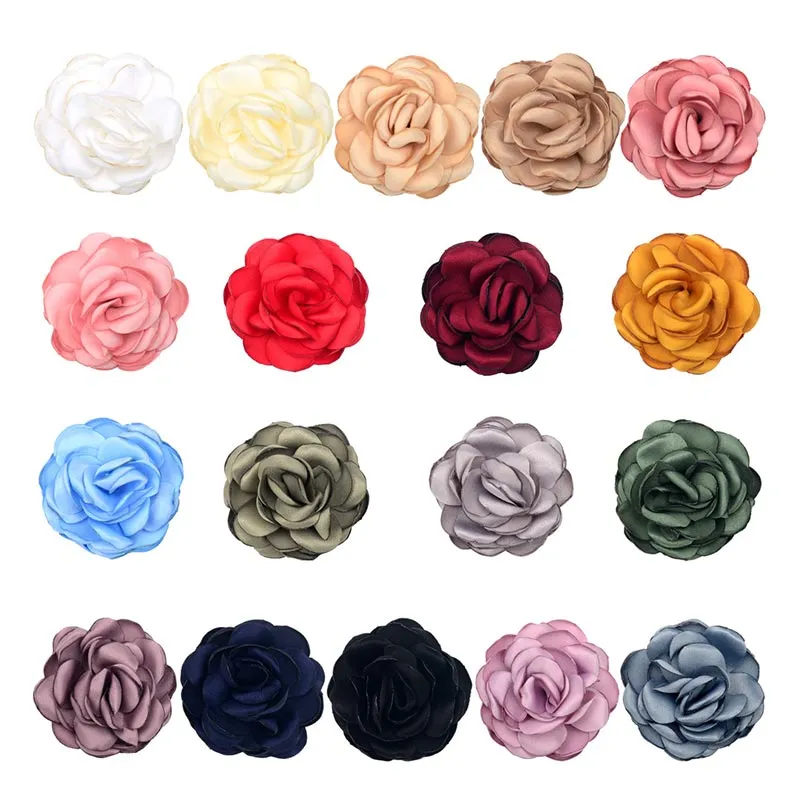
The method of making ribbon flowers
The method of making ribbon flowers can vary depending on the type of flower, but the basic steps include preparing materials, folding or cutting the ribbon, assembling the flower, and finally fixing and adjusting it. Here is a detailed tutorial on making ribbon roses:
Steps for making ribbon roses:
1. Preparation materials:
Ribbon (width and length can be adjusted as needed, generally recommended 2.5cm wide, length determined by flower size)
QQ thread, needle, hot melt adhesive or other fixing materials
Scissors, lighters (used to handle the edges of ribbons to prevent fraying)
2. Folding ribbon:
Fold the ribbon in half, find the center point, and then start from the center point, fold the ribbon repeatedly like folding a spring, forming a certain width and length.
Pay attention to maintaining a certain angle when folding, without having to be completely vertical, as this can make the petals more natural.
3. Forming petals:
After folding, gently pinch one end of the folded ribbon with your hand and slowly open it to form the shape of a petal.
Be patient when pulling, you can adjust the shape of the petals while pulling, making them fuller and more three-dimensional.
4. Assembling flowers:
Wrap the pulled petals around a central point (which can be a finger, stick, or pen) to form the initial shape of the flower.
During the wrapping process, the layers and angles of the petals can be adjusted as needed to make the flowers look more natural and beautiful.
5. Fixed and adjusted:
Use QQ thread, needle and thread, or hot melt adhesive to secure the petals to the center point or stem.
If necessary, some fillers (such as cotton, tissues, etc.) can be added between the petals to make the flowers look fuller.
Finally, trim off excess ribbons with scissors and use a lighter to treat the edges to prevent fraying.
Matters Needing Attention
- During the production process, patience and attention to detail should be maintained, especially when folding and unfolding petals.
- The choice of ribbon is also important, as different materials and colors can create different styles of flowers.
- If you want to make more complex flowers, you can learn more folding and assembly techniques.
- By following the above steps, you can create a beautiful ribbon rose. Of course, besides roses, you can also try making other types of ribbon flowers, such as lilies, sunflowers, etc. Different types of flowers have different production methods and techniques, but the basic steps are similar


